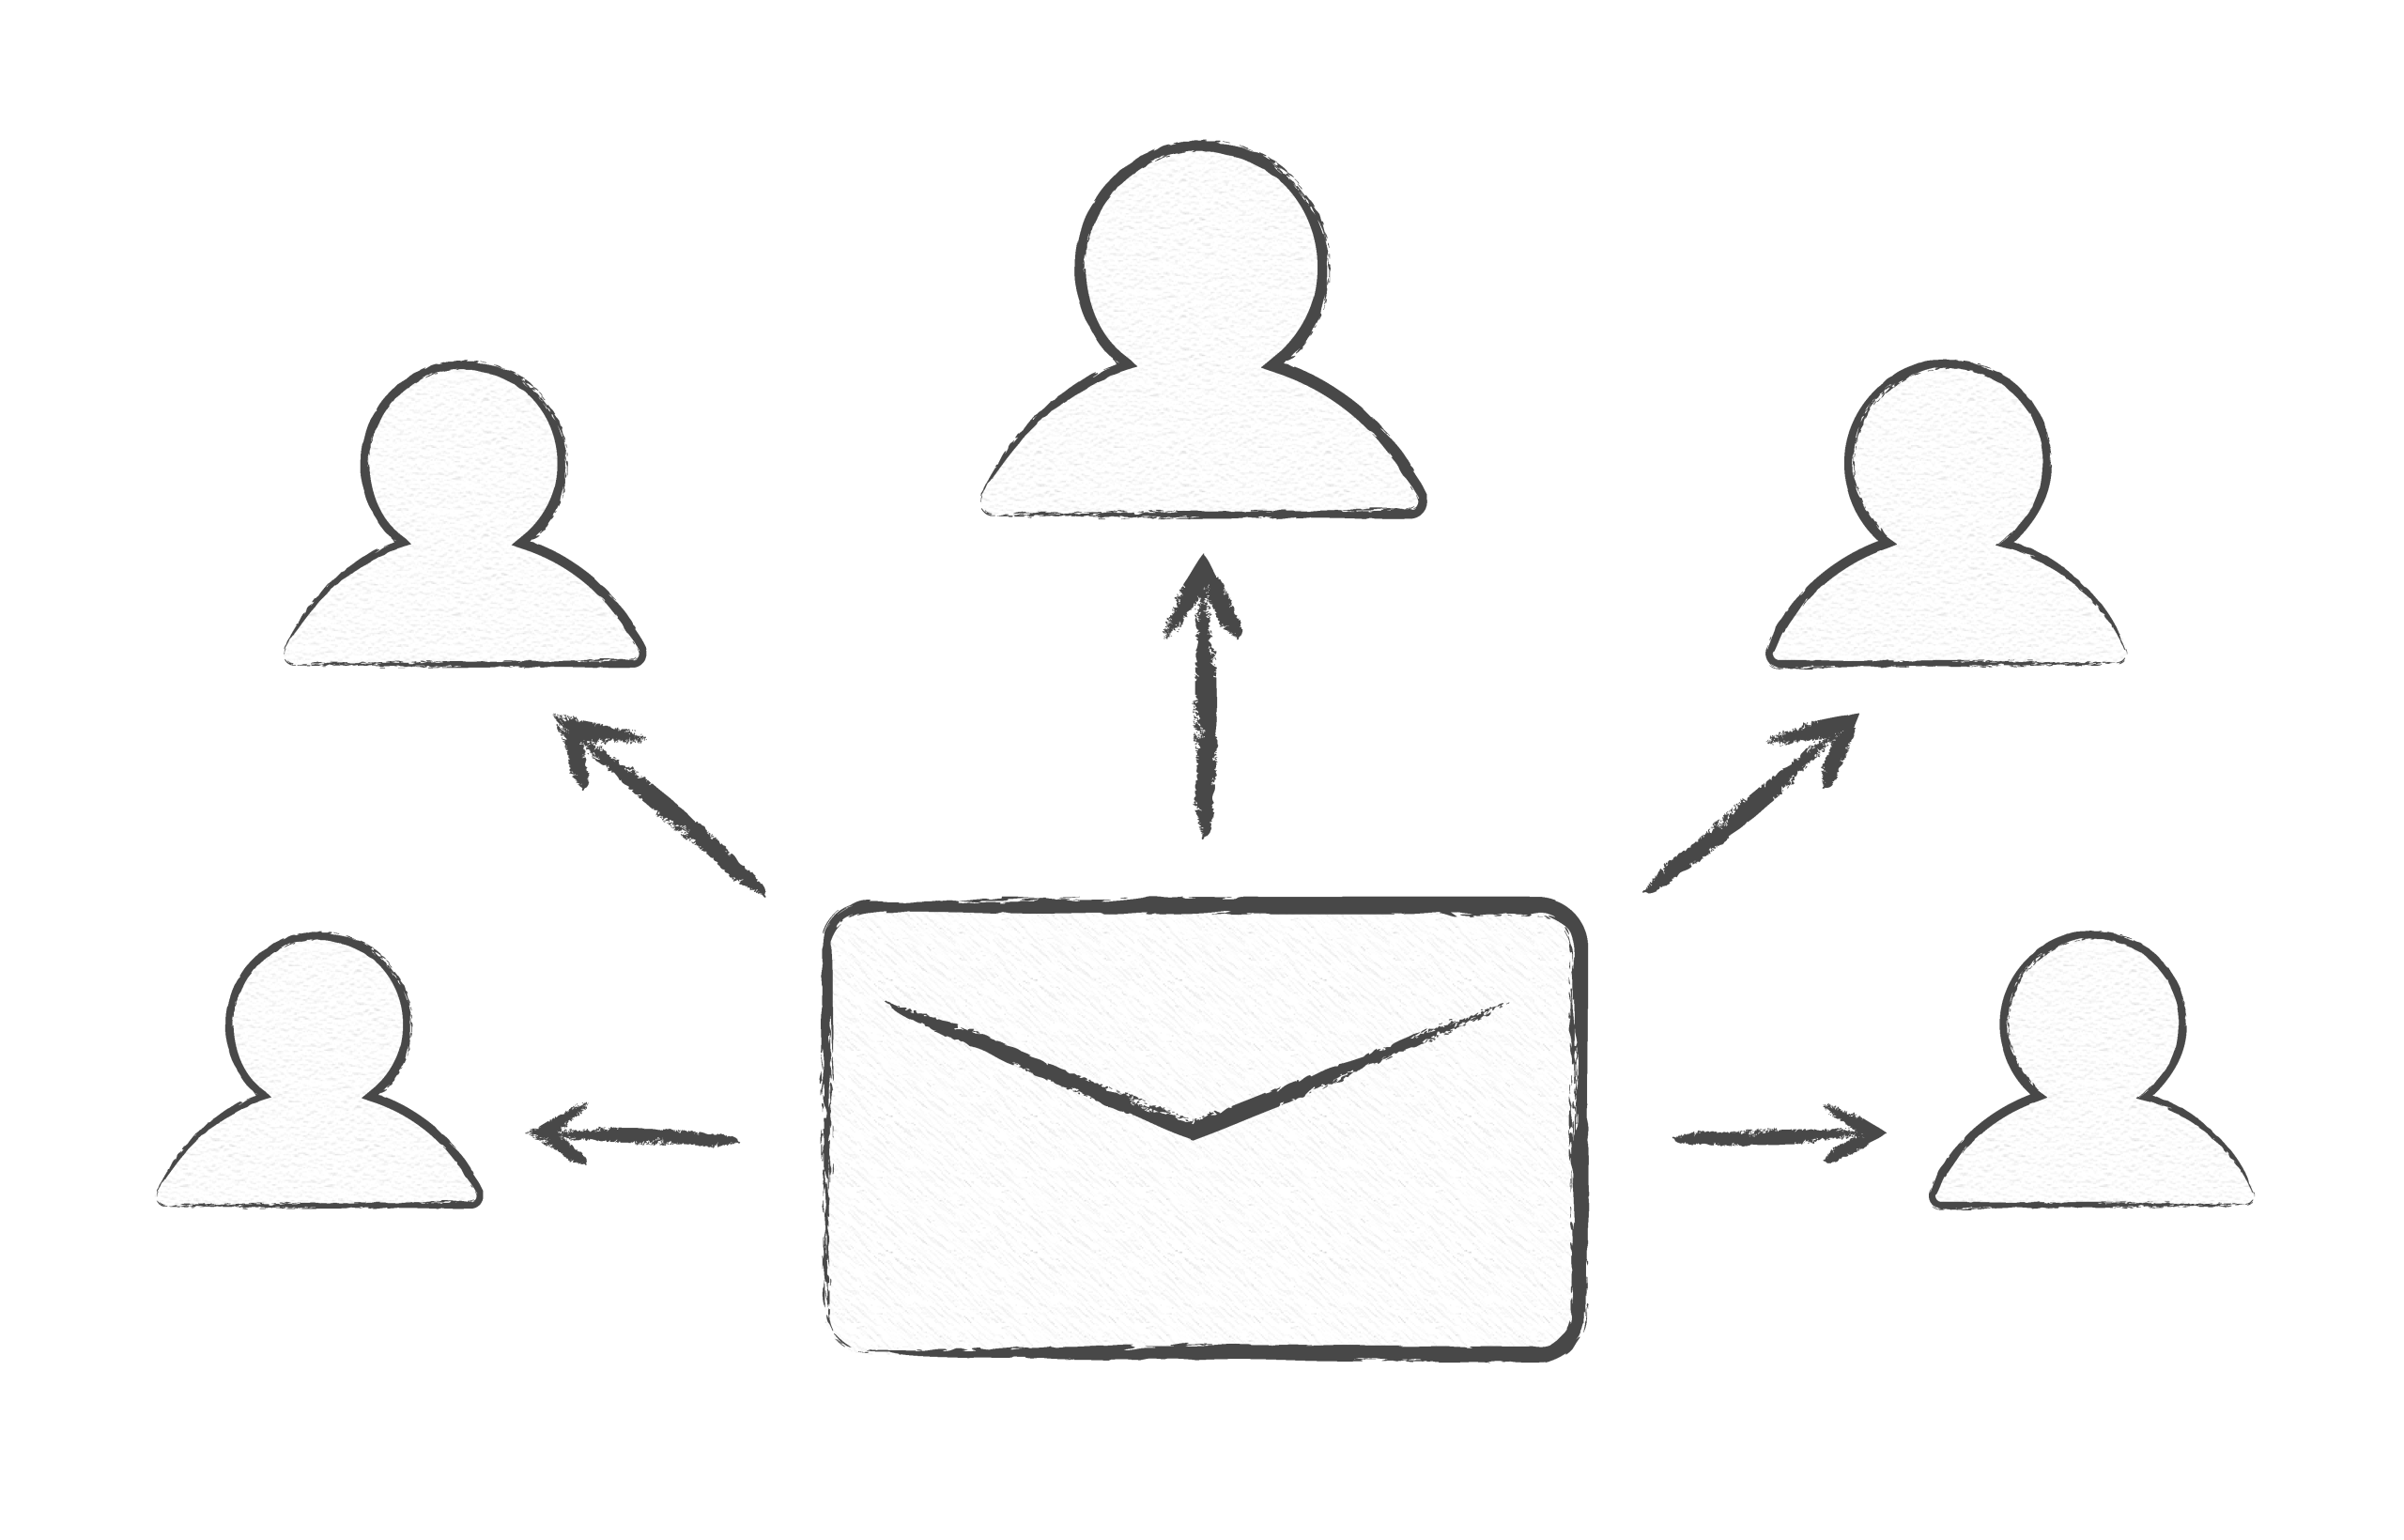
Imagine a situation where you need to send an email to a group of people, but want to keep their addresses private from one another? Or tried to personalize your message for each person without spending a lot of time on individual emails?
This is a real case for many of us, regardless of what goal we have: sending sales and marketing emails to our customers or sharing news with your team members.
To do it isn’t as easy as it might seem at first glance. You need to stay professional and ensure security in this process.
But don’t worry, by reading this article, you will learn how to send individual emails to a group.
So, let’s get started.
Let’s be honest – sending personalized emails to a large group takes time and effort. Mass emails seem like the obvious choice: they’re quick, simple, and cheap. But here’s what really matters: does personalization actually get you better results?
The short answer is yes, but let’s understand why more in detail.
Sending one email at a time hides other recipients’ addresses, protecting privacy and meeting rules for sensitive lists like clients or applicants.
Adding names or details tailored to each person makes your message feel relevant and increases the chance they’ll respond.
One-to-one emails feel genuine instead of like bulk spam, helping you build trust and keep strong relationships.
People open and answer personalized emails more often, since they notice messages that feel written just for them.
Spam filters often flag mass emails, but individual, customized emails land safely in the inbox more easily.
If you’re convinced that sending individual emails to a group is worth the effort, here are the steps to do it effectively.
Every successful email marketing campaign starts with smart planning. So, before starting to write, think about who your audience is and what you want to say.
Next, organize your contacts thoughtfully by customers versus prospects or by location. This helps you customize messages for each group and improve engagement.
Write down your main message in one simple sentence. What’s the one thing you want people to remember? Keep it focused. If you try to say too much, people won’t remember anything.
Look for ways to make each email feel personal. Can you mention their name, company, or something specific about them? You may think that small touches don’t mean anything, but they make a big difference.
The good news? Gmail and Outlook both have Mail Merge features that automatically add names, companies, and other details to your emails.
You have several options, and the best one depends on how many people you’re emailing and how fancy you want to get.
Email client mail merge works great if you’re using Gmail or Outlook and have under 100 people. It’s free and uses your regular email account. The downside is that it can be slow and doesn’t have many features.
Email marketing platforms (Mailchimp, HubSpot) are better for bigger lists or if you want to track who opens your emails. They cost money but give you professional features and detailed reports. For more guidance, check out these email sending tips to make your campaigns more effective.
Manual sending means writing each email individually. This takes forever, but it’s perfect for very important emails to just a few people.
BCC (Blind Carbon Copy) method lets you email a group at once without showing their addresses. It is the quickest option for simple announcements. Here’s how to use it properly:
Step 1: Log into your Gmail or Outlook account.
Step 2: Click “Compose” (Gmail) or “New Message” (Outlook).
Step 3: In the “To” field, enter your own email address.
Step 4: Click the “BCC” button and add all the recipients’ emails. Recipients won’t see each other’s addresses.
Step 5: Compose your message and send.
This method works well for meeting reminders or company updates, but you can’t personalize each message. While it’s quick and simple, it lacks the personal touch that gets better responses. For larger lists or detailed tracking, email marketing platforms are a better choice.

A clean and organized email list is a must to ensure each recipient receives the right message, making it easier to send individual emails to a group effectively.
Here is how you clean up your data first:
Group your contacts in a way that makes sense. You might separate customers from prospects, or group people by location. This helps you write more relevant messages for each group. Permission-based email outreach ensures better engagement and compliance.
Make sure you have permission to email everyone on your list. This isn’t just polite – it’s the law in many places. Always include a way for people to unsubscribe.
Set up your spreadsheet with separate columns for first name, last name, company, and any other details you want to include in your emails. Double-check that everything is spelled correctly.
Your subject lines are the first thing people see, so pay attention to it carefully. First, keep it short and personal when possible.
Use simple words and don’t even consider using technical jargon. Don’t write long texts; people just don’t have time for it.
Tell people exactly what you want them to do. Instead of “Please consider our proposal,” say “Reply by Friday to get started.” Be clear about what the next steps should be.
Test how your email looks on different devices. What looks great on your computer might be hard to read on a phone. Keep it simple and make sure buttons are easy to tap.
Set up your mail merge carefully. Follow the instructions for whatever platform you’re using, and double-check that your merge fields match your spreadsheet exactly. One small mistake can mess up hundreds of emails.
Choose the right sending time:
Don’t send all your emails at once. Spread them out over a few hours or even days. This looks more natural and is less likely to trigger spam filters.
Always test your emails before sending them to your real list. Send test emails to yourself using real data from your contact list. Check how they look on your phone, tablet, and computer.
Test everything that matters:
Look carefully at the formatting. Do the names and details appear correctly? Is the text easy to read on mobile devices? Fix any problems before sending to your actual list.
Now it’s time to send your emails.
Send your emails in small batches rather than all at once. This helps you catch problems early and looks more natural to spam filters. Start with your most important contacts first.
Keep an eye on your email metrics:
If you notice problems, stop sending and fix them before continuing. It’s better to delay your campaign than to damage your reputation.
After sending your emails, take time to review what happened and plan your next steps.
Track your results to learn what worked:
Follow up with people who didn’t respond. Wait at least a week before sending a follow-up email. Keep it short and mention your first message. Don’t be pushy – some people just aren’t interested.
Write down what you learned for next time. What subject lines got the best response? What time of day worked best? Which groups were most engaged? Use this information to improve your future email campaigns.
Sometimes you need to send Christmas gift cards to your family members at the same time, but want to make sure each one feels personal, just like when sending individual emails to a group while keeping them customized.
We’ve discussed how to send individual emails to a group of people, while ensuring each message feels personalized and professional.
Hopefully, our tips will help you reach that goal.


Have you ever felt overwhelmed with your own email inbox? Then you probably know the …
Read more
That's right - you need to invest in email marketing. But to get real results, you must first secure…
Read more
Are you one of those people who feel nervous about AI? Don’t be. Yes, AI is transforming many a…
Read more

With over 97% deliverability you can ensure the best results.